How to add auto-generated favicons to a Nuxt project
Every website needs a favicon. However, nowadays, a simple favicon.ico in our root directory just won't be enough. With different desktop and mobile platforms and a myriad of screen resolutions out there, you'll usually need more than a dozen of formats to get the job done right.
There are several online tools that allow you to upload a PNG icon and get formatted versions and markup to add to your site. I've used them for a while, but it was always a drag to actually remember and do that. And changing a favicon was still a pain as well.
Nuxt & nuxt-rfg-icon
When I deploy my Nuxt projects to Netlify, it automatically generates all the files to serve my website. If only I could leverage this generating process to also automatically produce all my favicons and inject their markup in the final files.
Well, of course I can, with the excellent library nuxt-rfg-icon. As its description on Github reads:
Automatically generates favicons and app icons with different sizes using rfg-api.
This module adds link and meta tags for the appropriate favicon's to head The generated manifest.json is added to @nuxtjs/manifest, so should not overwrite existing properties
As with any Nuxt module, usage is super simple:
# install
$ npm install --save nuxt-rfg-ico
// add to your nuxt config
...
modules: [
   'nuxt-rfg-icon',
   // in case you are building a PWA, add this:
   '@nuxtjs/manifest'
]
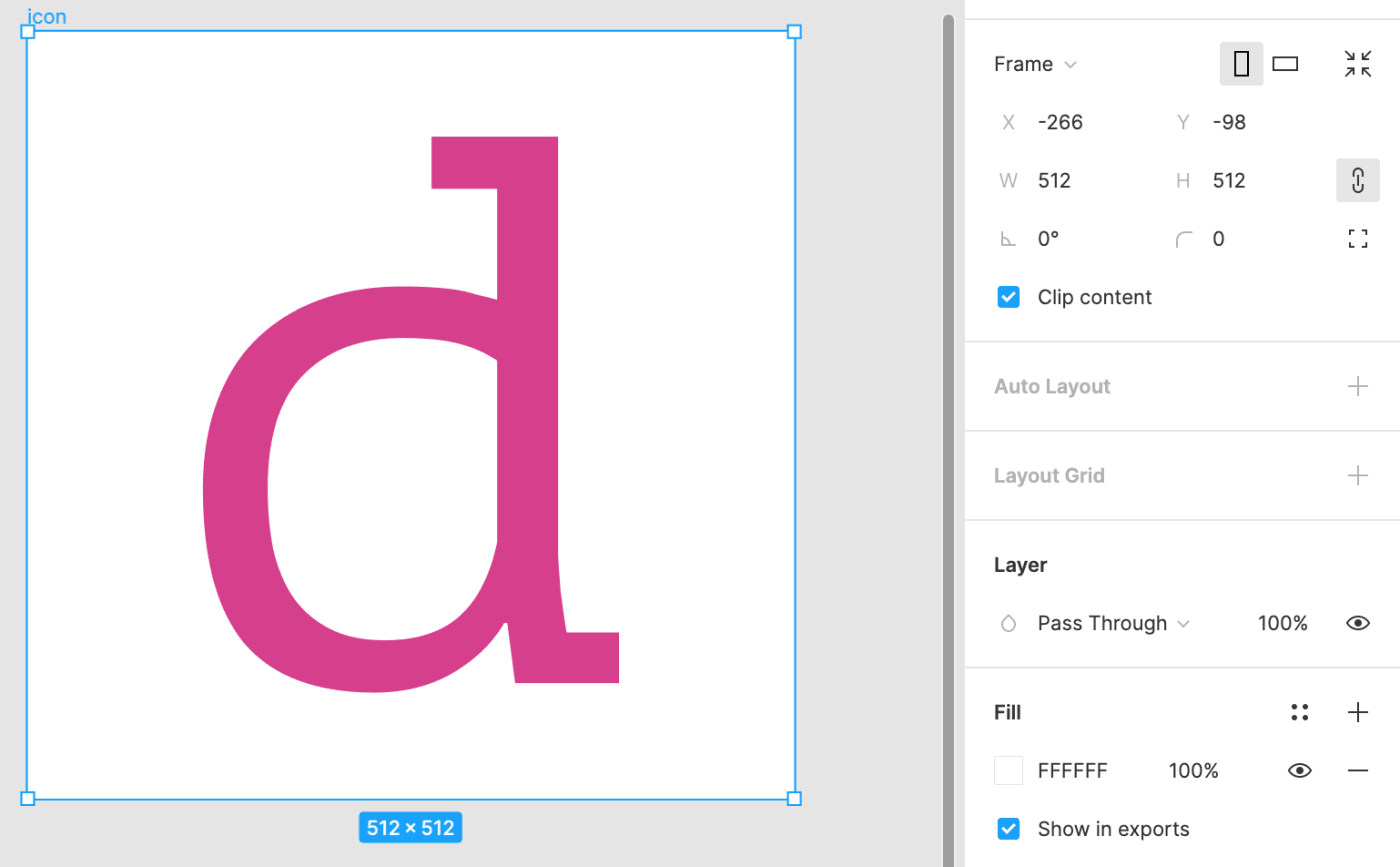
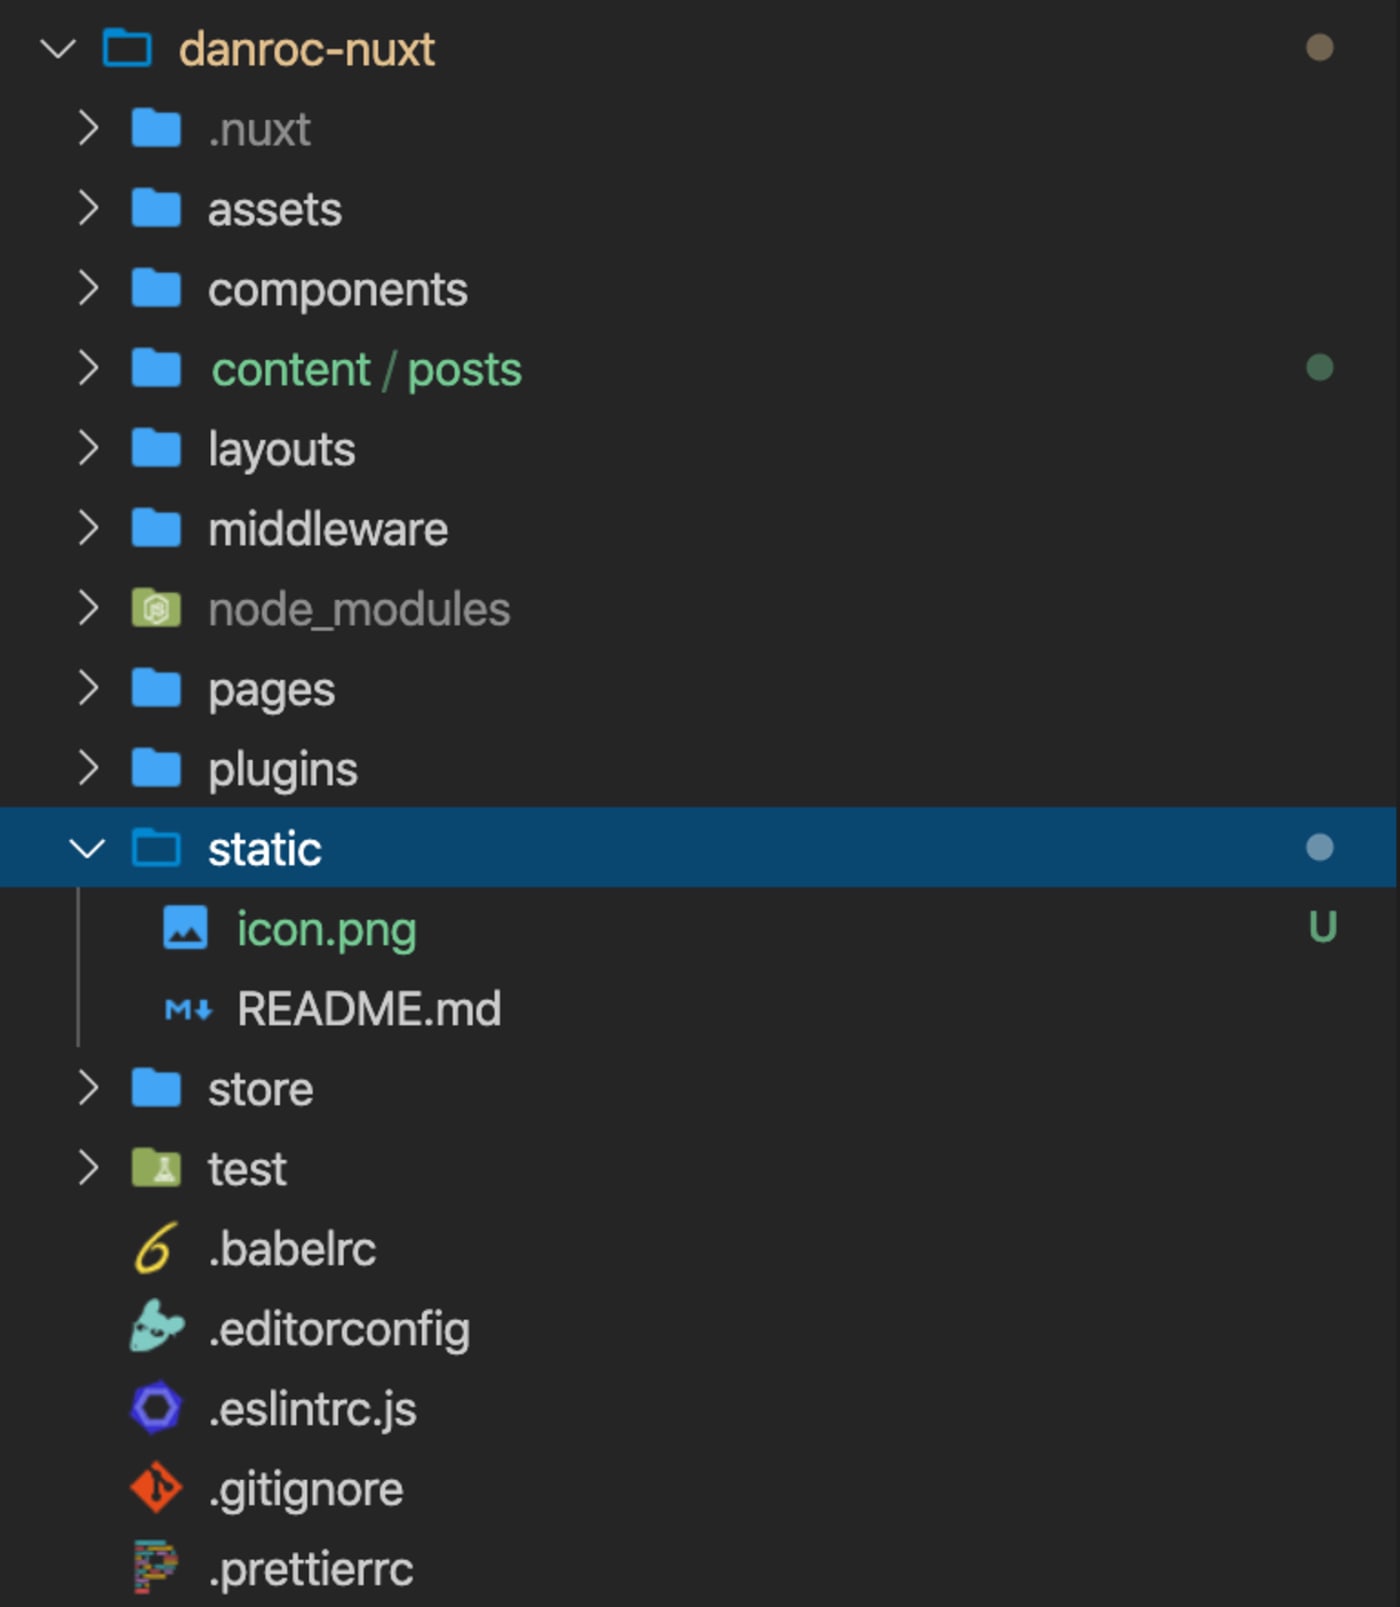
I then use Figma to draw a 512x512 icon, export it as icon.png and place it inside the static folder in my Nuxt project.
And that's it. Once deployed, your favicon will be generated automatically.